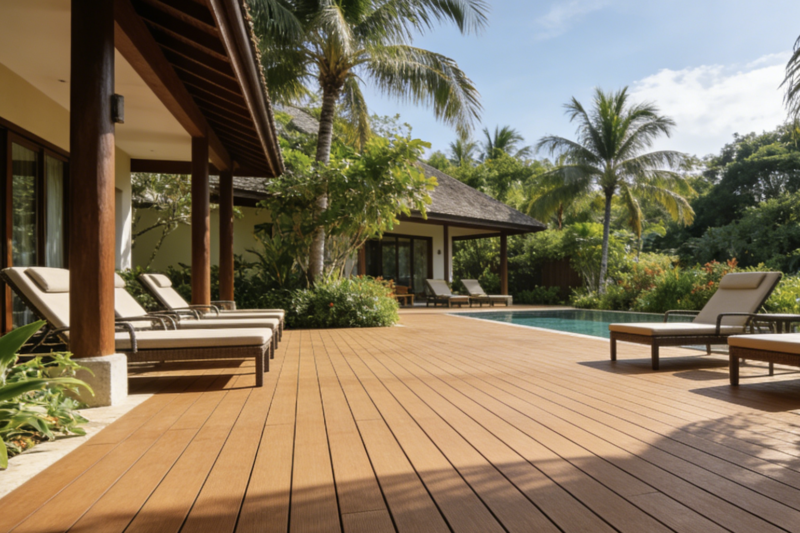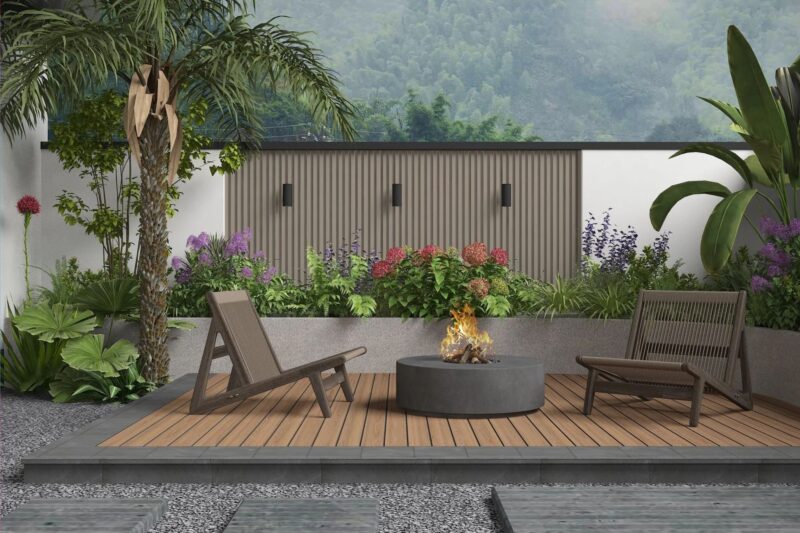
A well-designed outdoor deck can become the heart of your home—a place for relaxation, entertainment, and making memories. With advances in modern materials, building a beautiful and durable deck is no longer limited to professionals. DIY-friendly options, especially those using Wood-Plastic Composite (WPC), have made it easier than ever to create a stunning outdoor space on your own.
Why Choose a DIY Outdoor Deck?
1. Easy Installation, No Special Skills Required
Traditional decking often requires specialized tools and expertise. In contrast, many modern WPC deck systems feature interlocking designs or click-lock mechanisms that allow for tool-free assembly. You can lay down a new deck over a weekend, even with no prior experience.
2. Eco-Friendly Choice
WPC is typically made from a blend of recycled wood fibers and plastics, reducing waste and the need for virgin timber. By choosing WPC decking, you are contributing to sustainability without compromising on quality or aesthetics.
3. Durability & Weather Resistance
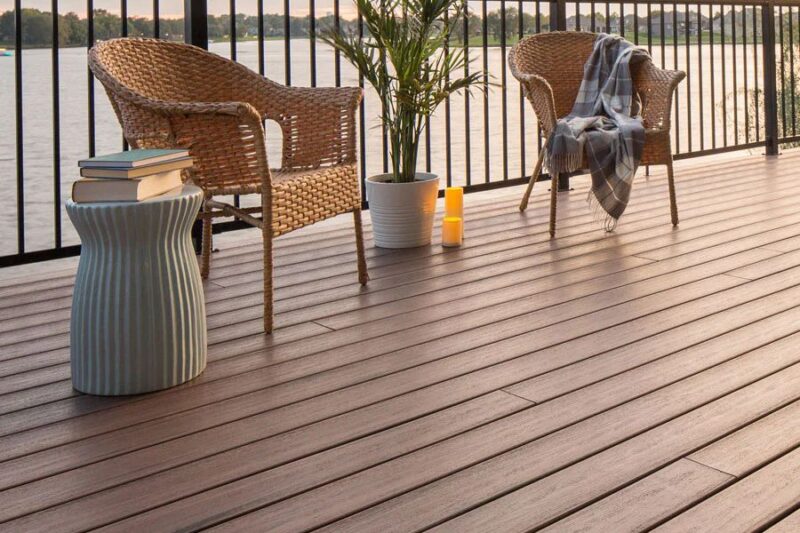
High-quality WPC decking is engineered to withstand harsh conditions—intense sun, heavy rain, snow, and temperature fluctuations. It resists fading, moisture, mold, and insects, ensuring your deck stays beautiful year after year.
4. Low Maintenance, Long-Lasting Value
Unlike natural wood, WPC doesn’t require staining, sealing, or frequent repairs. A quick rinse with water is usually enough to keep it clean. This means more time enjoying your deck and less time maintaining it.
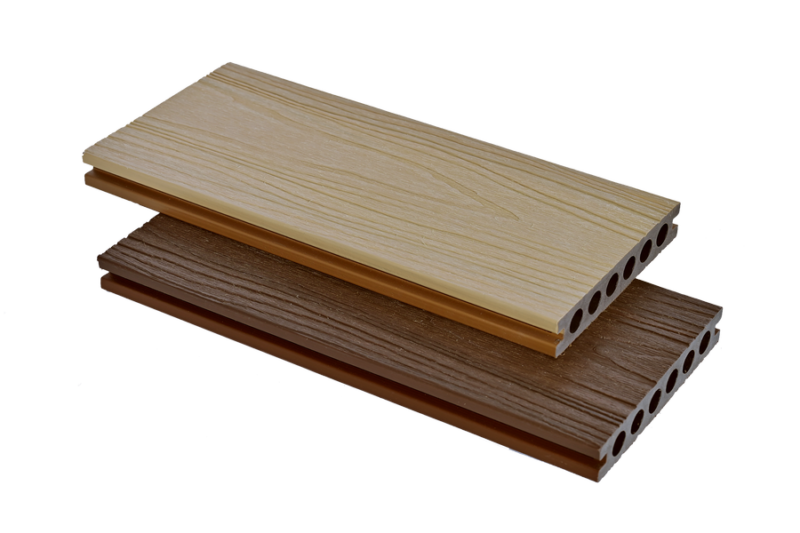
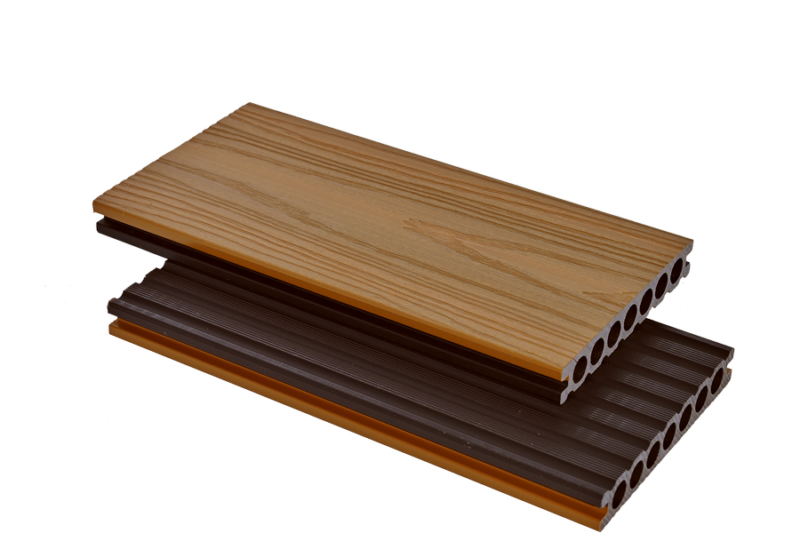
What Is Wood-Plastic Composite (WPC)?
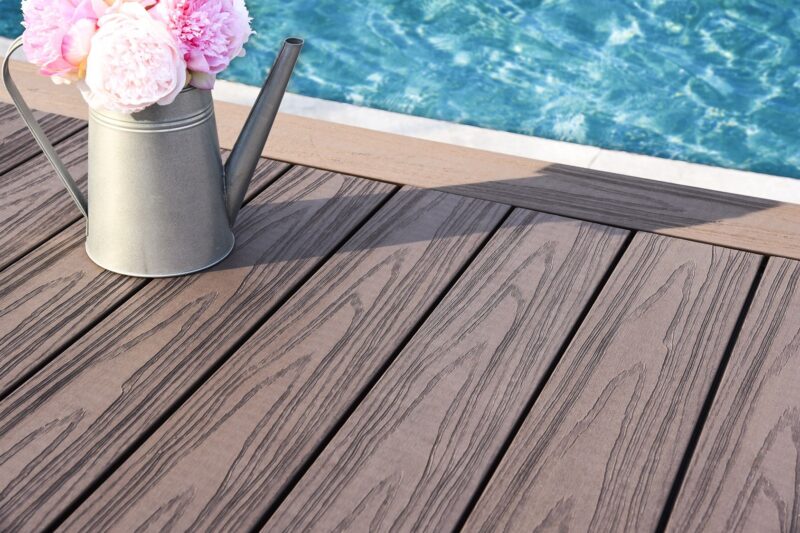
WPC is an innovative material that combines the natural look of wood with the strength and resilience of plastic. The result is a versatile product that offers the best of both worlds—beauty and function.
Key Features:
- Waterproof and rot-resistant
- UV-protected to prevent color fading
- Splinter-free and safe for bare feet
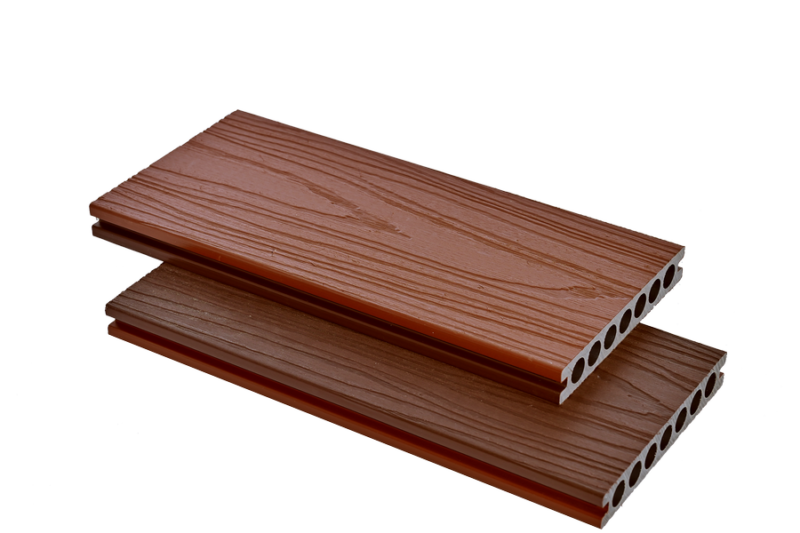
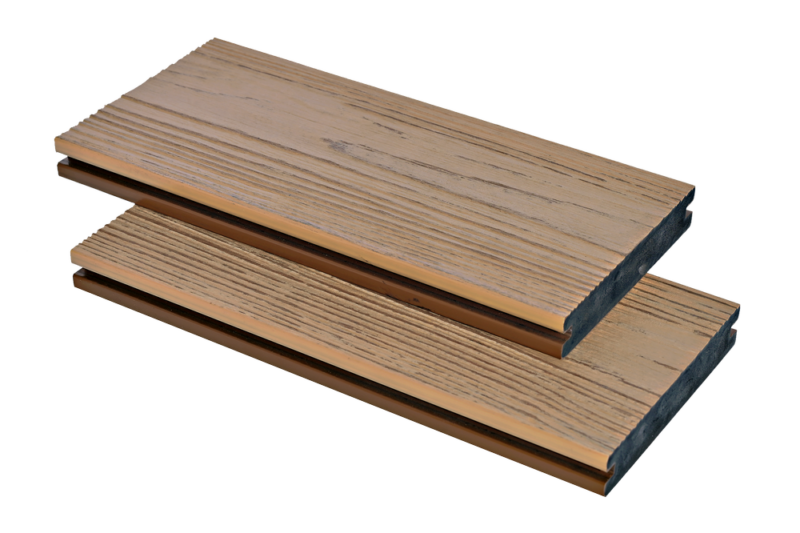
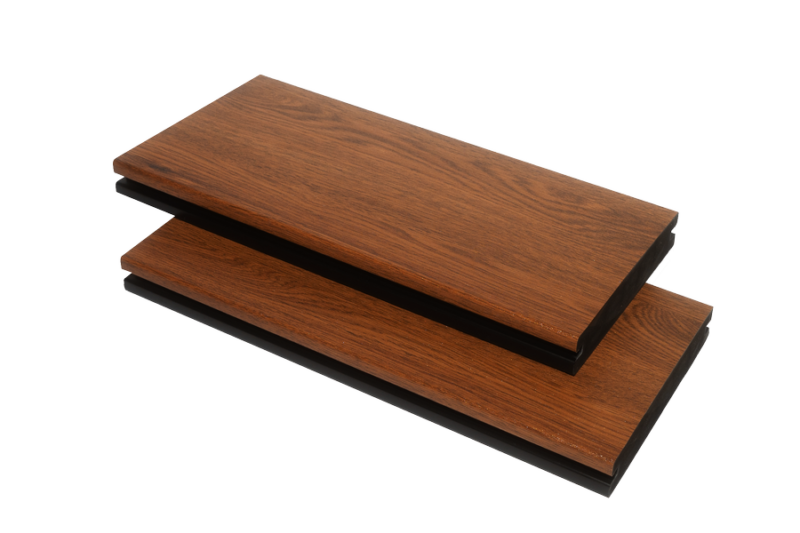
- Available in a variety of colors and wood-grain textures
How to Build Your DIY Deck in 4 Simple Steps
Step 1: Plan & Measure
Decide on the deck location and measure the area accurately. Purchase about 5-10% extra material to account for cuts and adjustments.
Step 2: Prepare the Base
Ensure the ground or surface is clean, dry, and level. For grass or soil, consider using a weed barrier or a gravel base for better stability and drainage.
Step 3: Install the Tiles or Panels
Start from one corner and connect the tiles or boards using the integrated locking system. Cut pieces as needed to fit edges or obstacles.
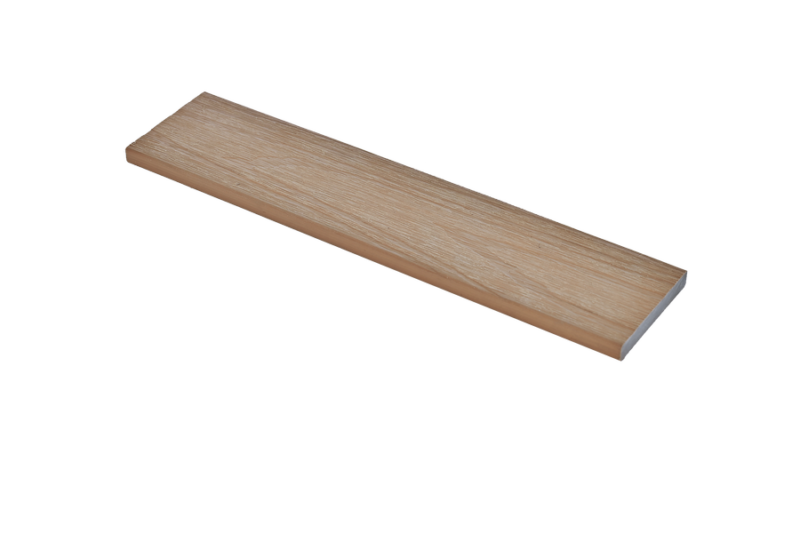
Step 4: Finish the Edges
Use finishing trims or edge pieces to give your deck a polished look and prevent tripping.
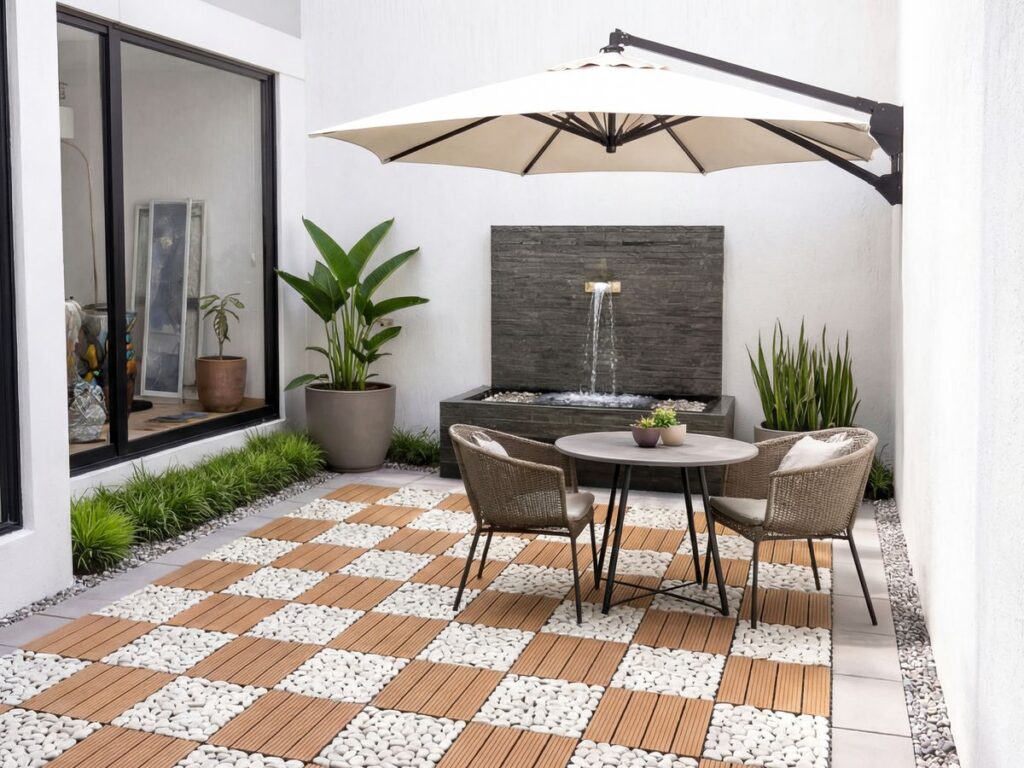
Ideal Applications
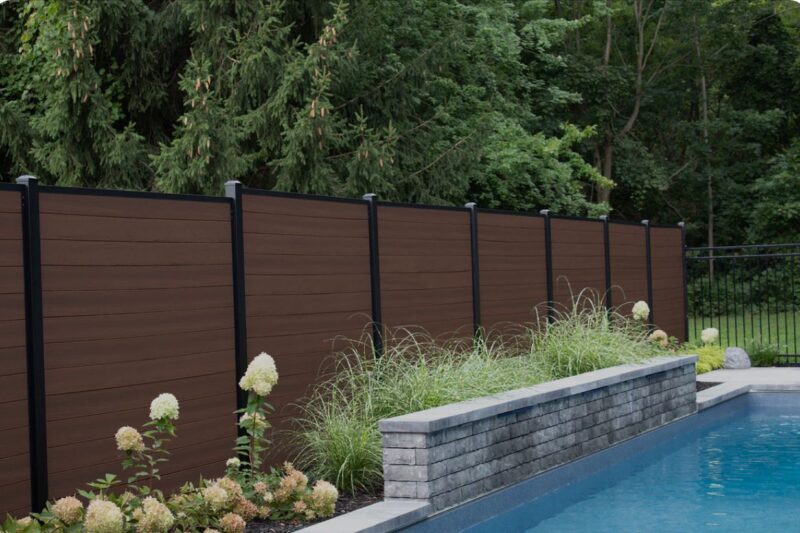
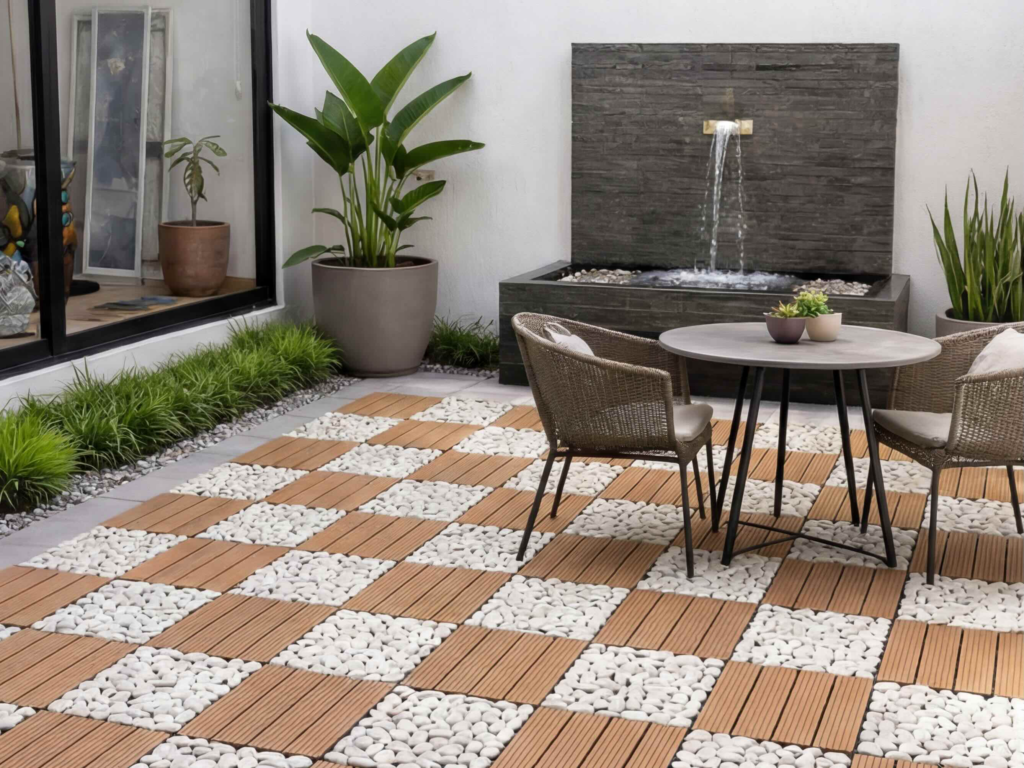
- Residential: Balconies, patios, garden pathways, pool surrounds
- Commercial: Café terraces, hotel courtyards, rooftop bars
- Public Spaces: Park walkways, picnic areas, exhibition zones
Tips for Choosing the Right DIY Decking
Material Matters: Opt for high-quality WPC with UV and moisture protection.
Check the Locking System: A sturdy click-lock system makes installation easier and more secure.
Style & Color: Choose from wood-like finishes or contemporary grays to match your design vision.
Warranty & Support: Many high-quality products come with extensive warranties and installation guidance.
Final Thoughts
A DIY outdoor deck is more than just a home upgrade—it’s an opportunity to create a personalized outdoor retreat. With today’s user-friendly and eco-conscious materials, you don’t need to be a pro to build a space you’ll love. Embrace the DIY spirit, and start designing your dream deck today!
Note: Always follow the manufacturer’s installation guidelines and prepare the base properly to ensure the best results.