How to install BetterTech composite decking
Share more ideas about outdoor landscape design and build a comfortable outdoor living scene.
Essentials before installation
-
We recommend that BetterTech composite decking be installed by professional personnel. WPC decking should not be used as part of the foundation or substructure. The ground or supporting structure must be sufficiently robust to prevent shifting, collapse, or subsidence.
-
BetterTech composite decking should not be installed directly on surfaces such as cement, brick, or waterproof membranes. It must be installed onto a suitable substructure.
-
Avoid placing composite boards in areas subject to heavy impacts, prolonged exposure to water, or corrosion by chemicals.
-
Installation requires standard woodworking tools and accessories. Accessories should be supplied by BetterTech or purchased according to BetterTech’s recommendations.
-
Ventilation Note: Decking should not be installed in enclosed spaces. The substructure should allow adequate ventilation to ensure air or water circulation beneath the boards, preventing potential quality issues.
-
BetterTech decks CANNOT be directly installed onto the ground. It must be installed onto a substructure that is made into a frame or joist, so there is adequate and unob- structed air flow under the decking to prevent excessive water absorption.
Decking Accessories
Best Comoiste Decking Type
Step one: fixing joist
Joist must be fixed onto flat and hard ground. It is recommended to use treated Pine wood joist or wpc joist. Adequate spacing in the joists is required to keep the deck boards from bending. For residential project, the joists span on Center-to-Center should be less than 35cm; for commercial project, the joist span on Center-to-Center should be less than 30cm. If joist spanning on center-to-center with angled decking, the span should be 10cm less than normal requirement.
Step 2: Installing Decking
Make sure to always pre-drill the wpc profiles before fastening wpc decking. Make sure to leave enough gaps because composite decking boards will experience expand and contract with changes in temperature. Expansion and contraction are most significant where extreme temperature changes occur. Fastening the deck planks according to the gapping requirements noted in the following key point.
Key point
-
Side-to-side gap between boards: 3-7mm
-
End-to-object and side to object gap: Min 5mm
-
End-to-end gap:3-7mm. Decking installed in winter should leave more gap than installed in summer due to the expansion and contraction.
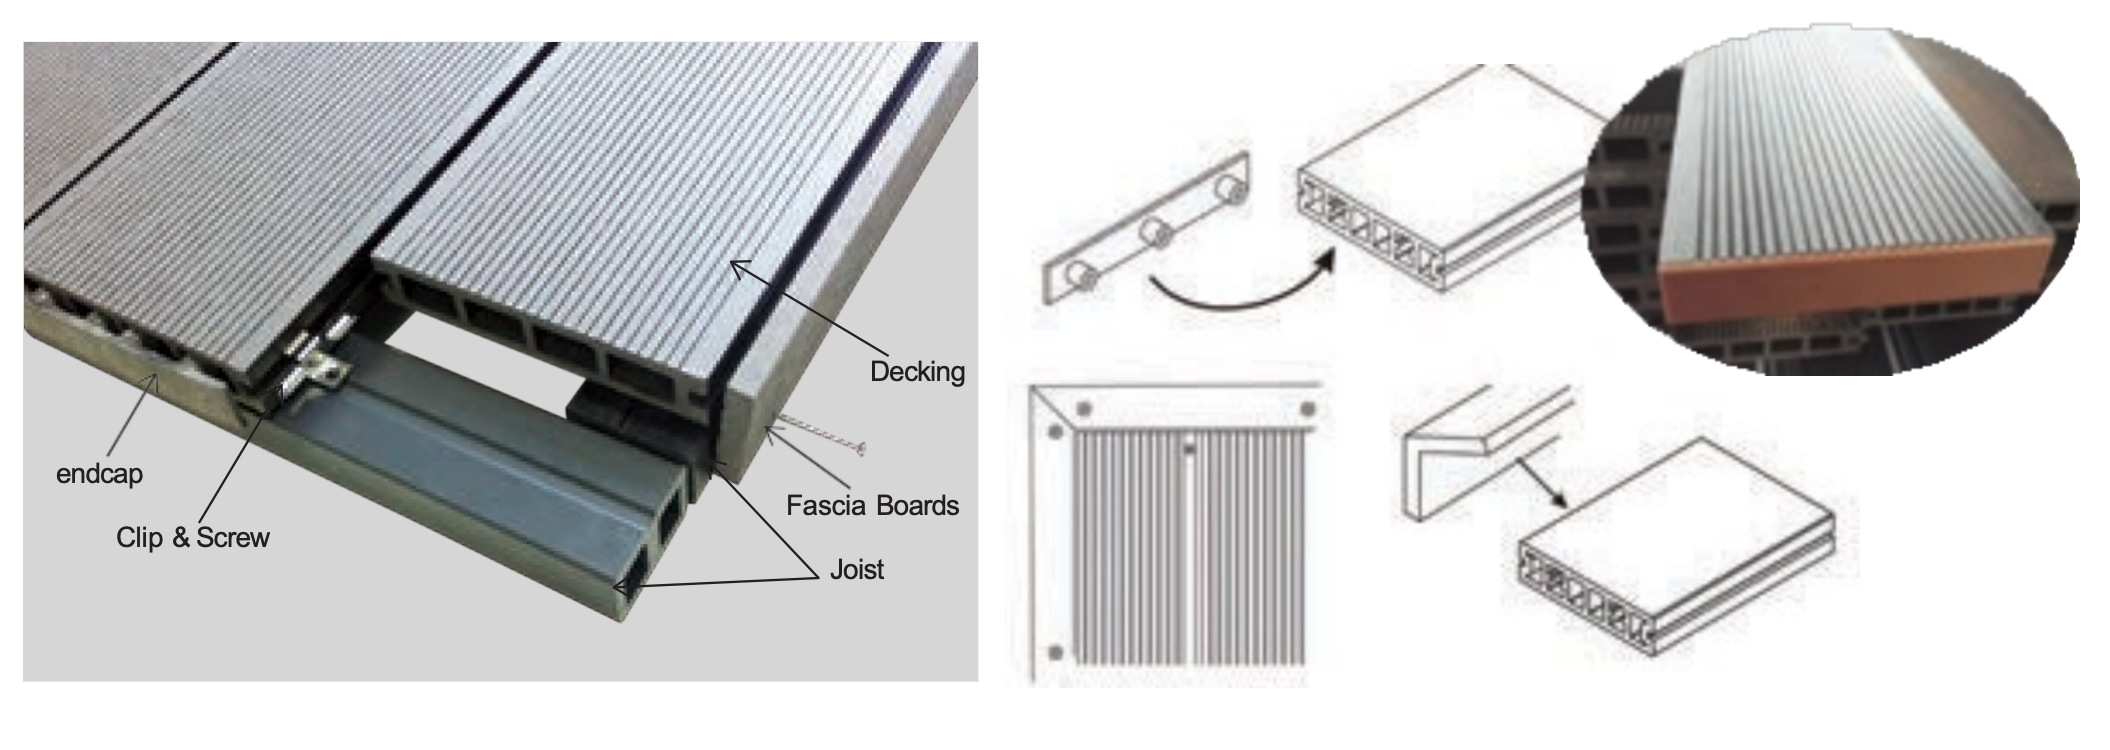
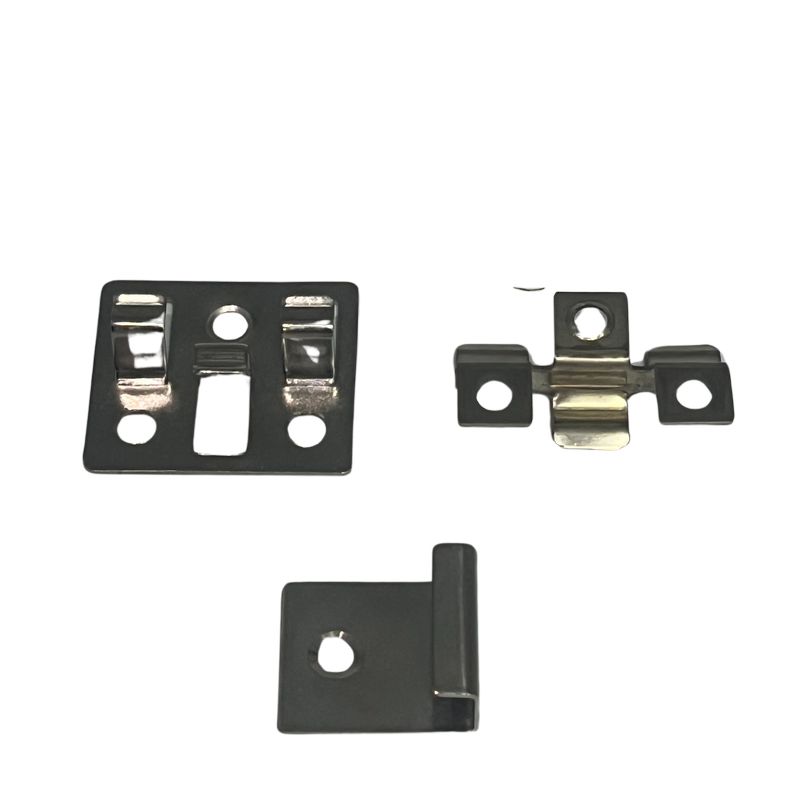
The first board should be locked by starting fastener. When installing boards with one full length across the deck, we recommend use the none-walking clips to lock the board in the middle to make sure the board will not move and to allow for expansion and contraction to take place on both ends.
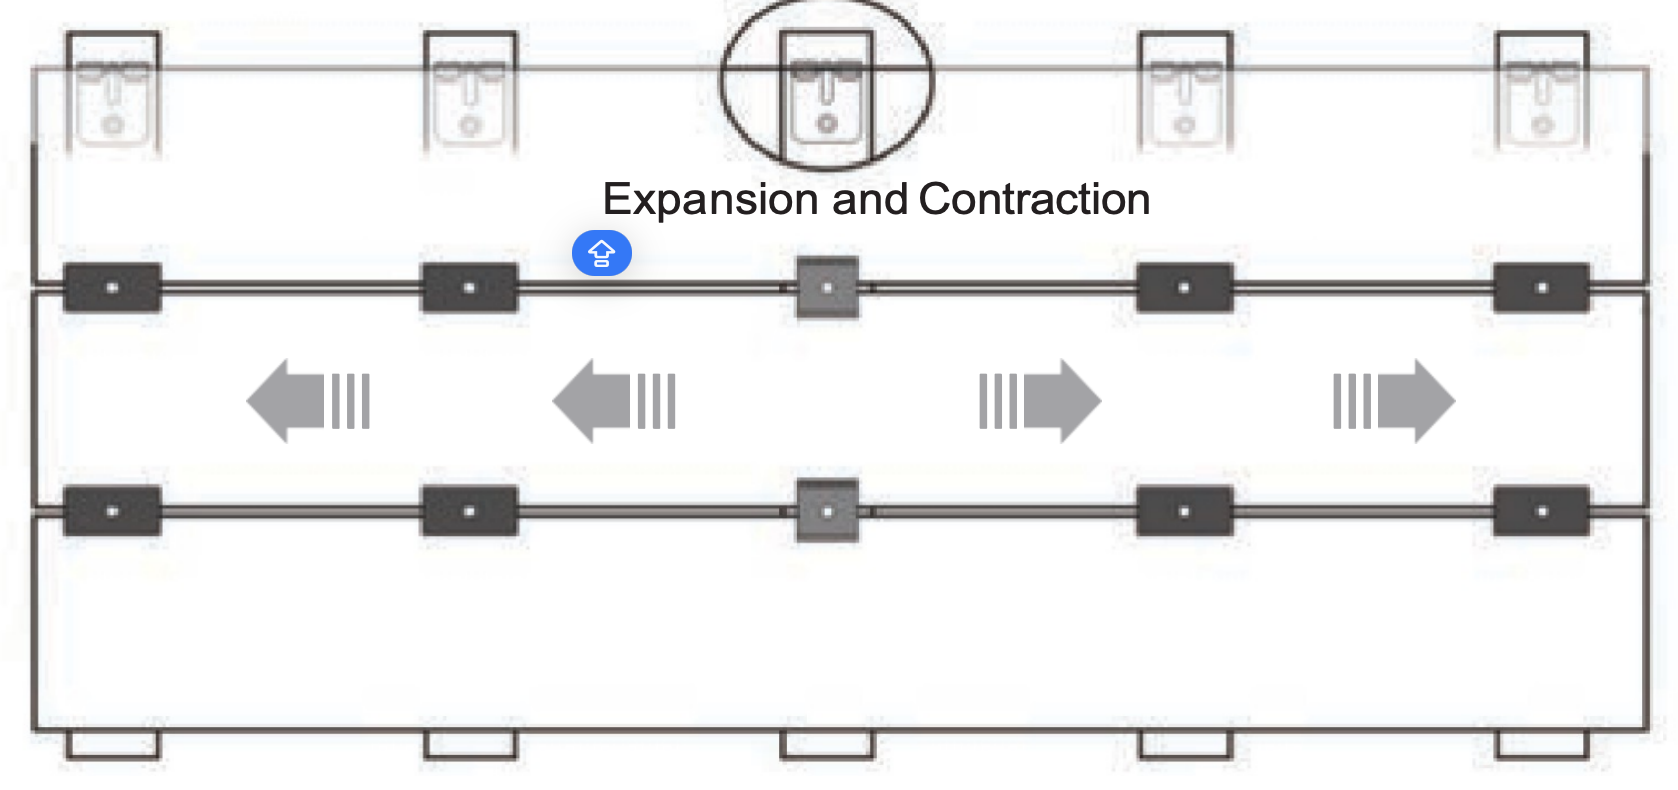
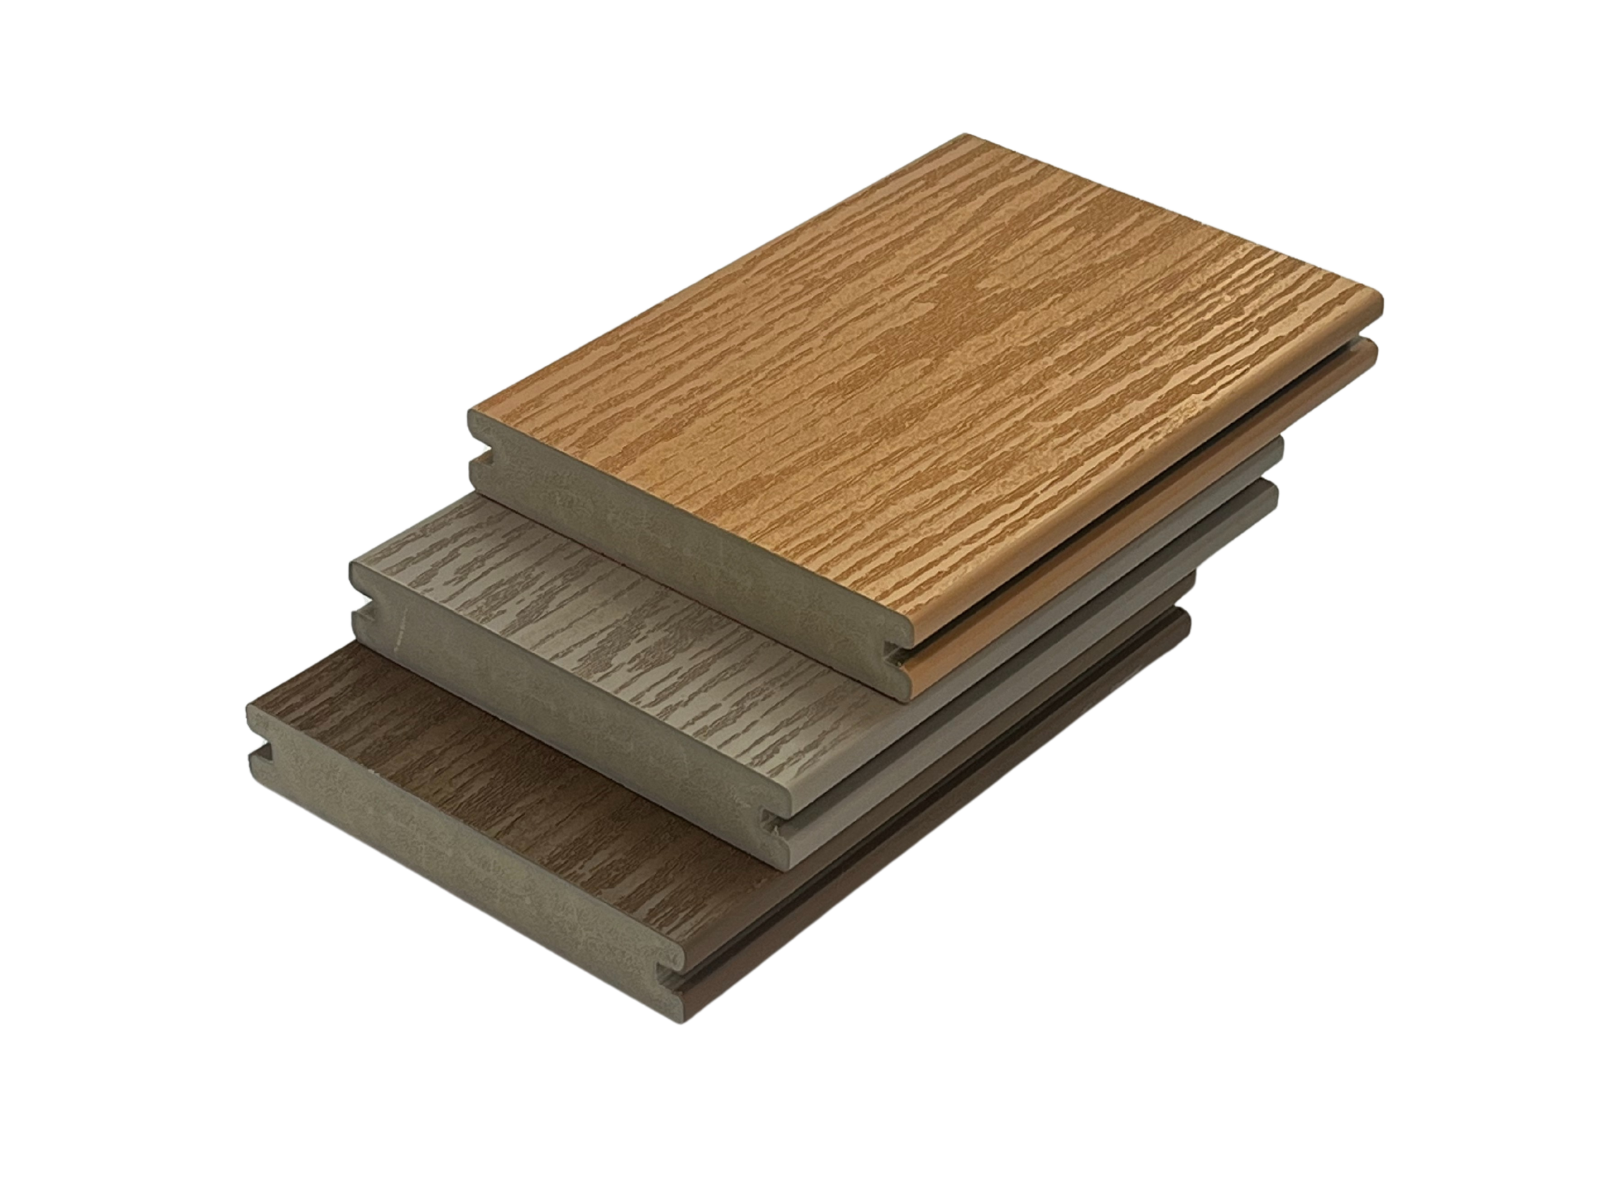
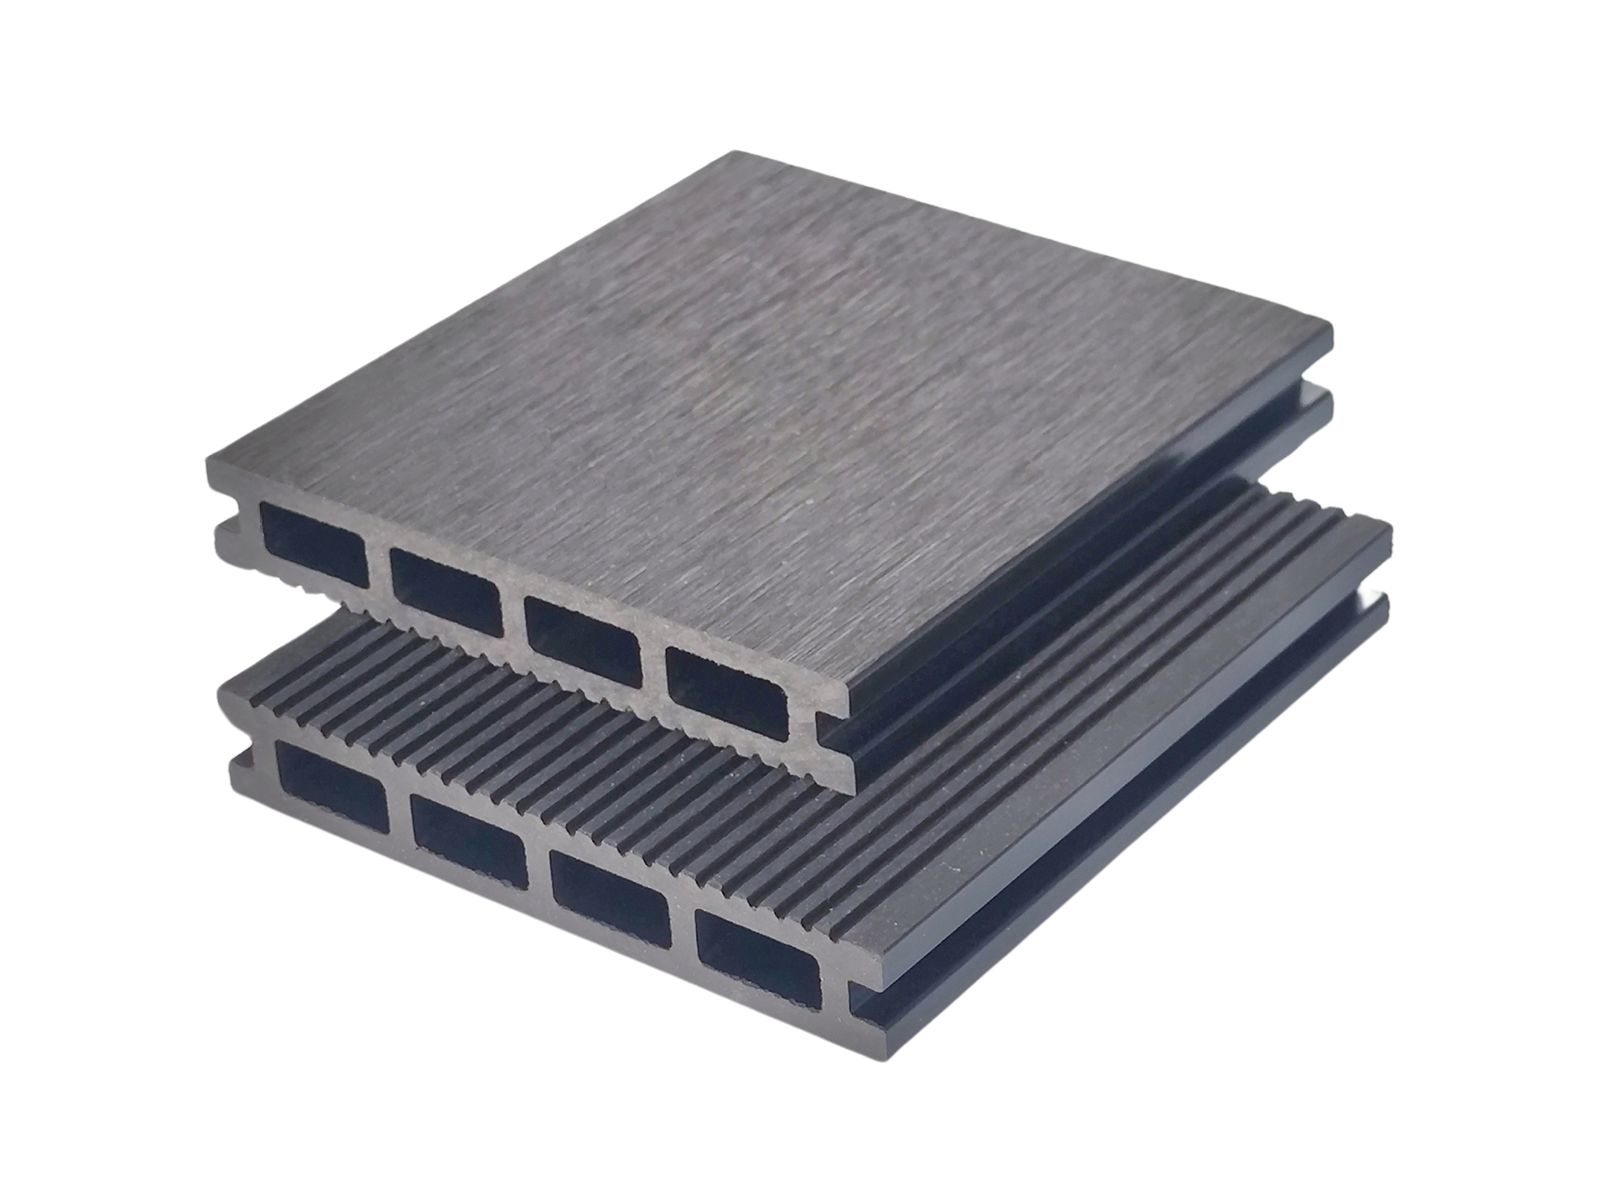
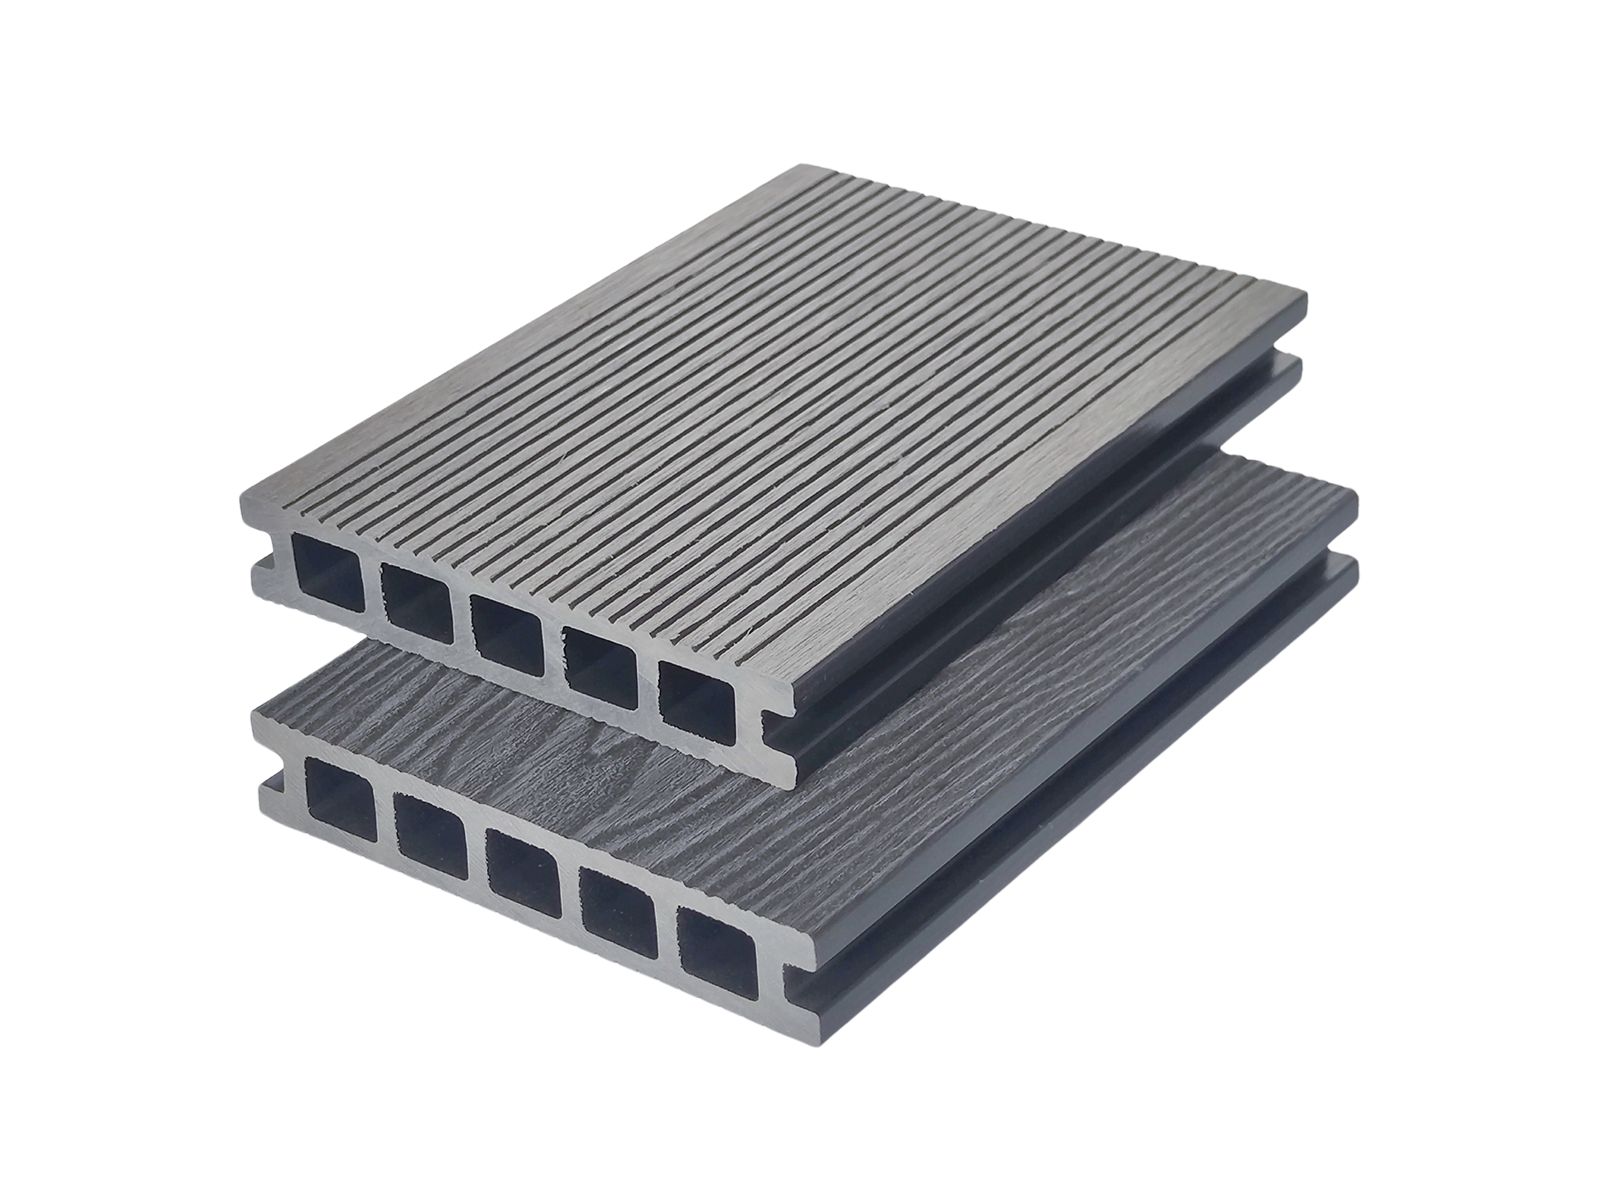
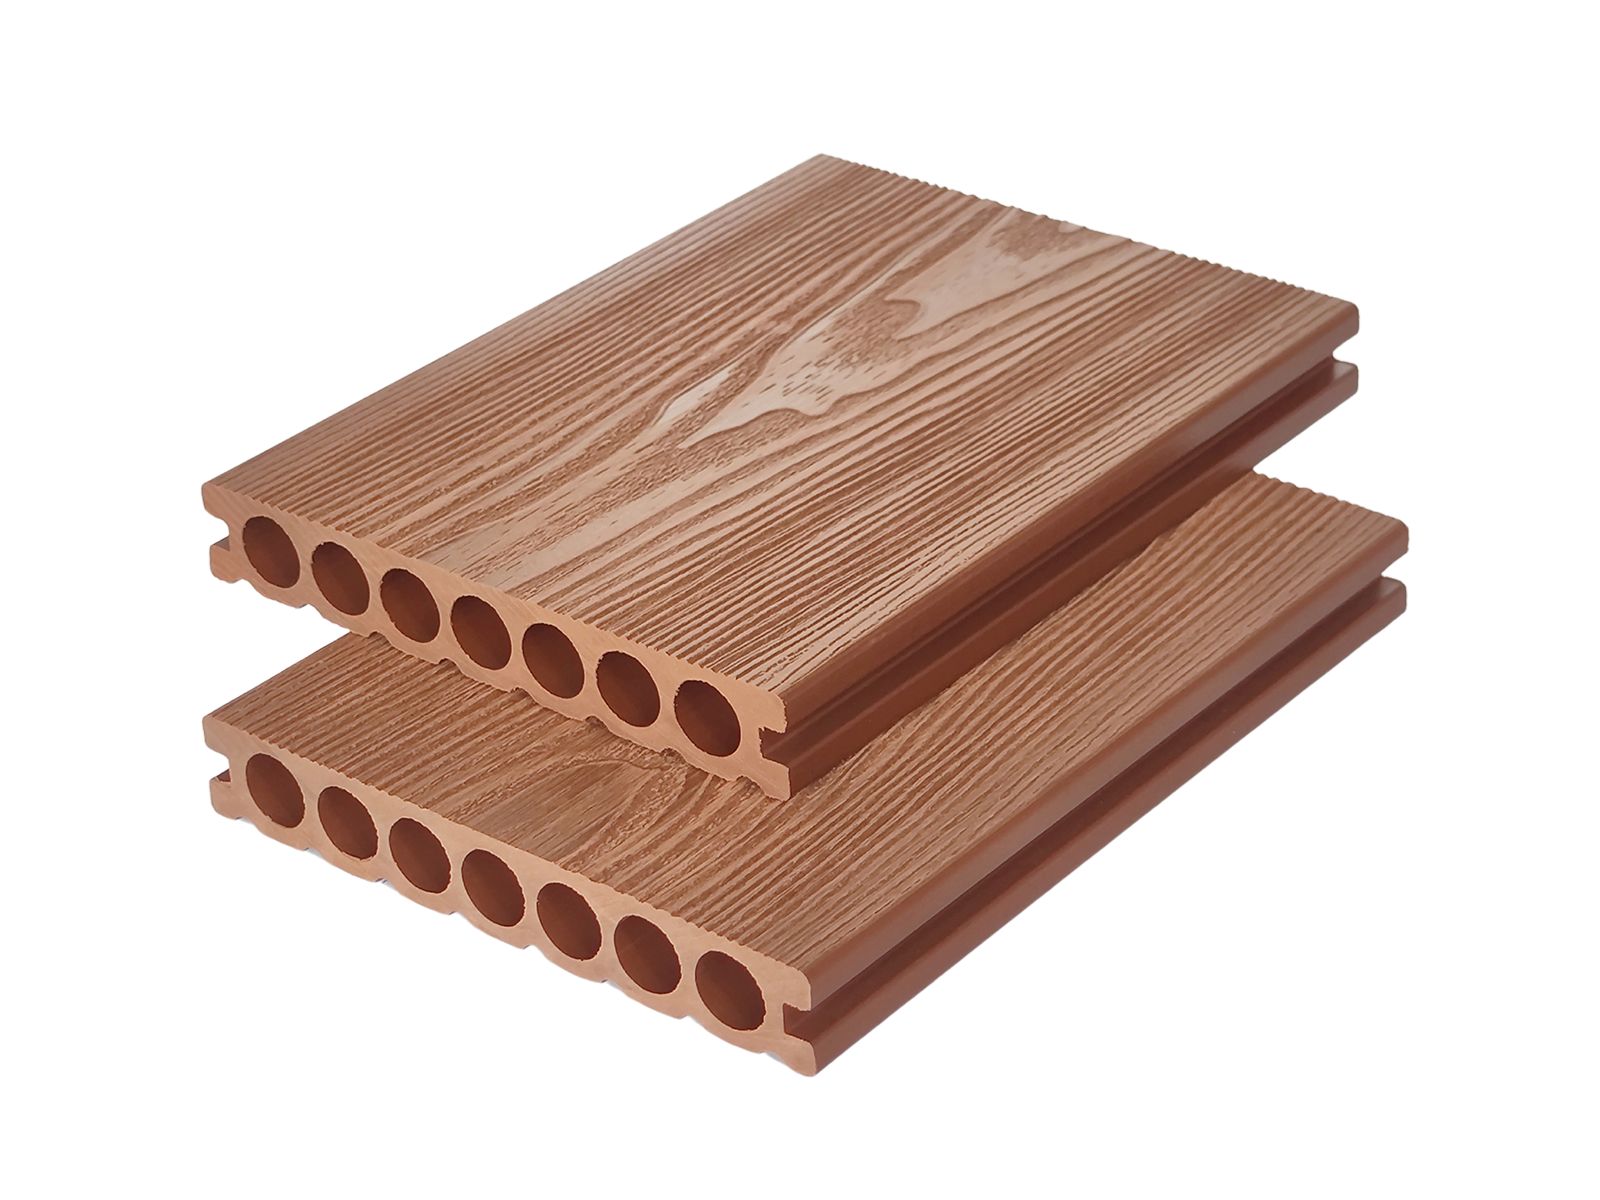
When installing two boards across the deck, none-walking clips are recommended to be used at the butt joints to ensure proper gapping during expansion and contraction as shown in Diagram. When butt jointing boards, sister joisting must be used so that each individual board sits on its own joist to ensure that the board will not slide off the joist. Also, there needs to be a minimum of 5 mm (0.2 inch) gap between the sister joists for water to go down between the joists or swelling could occur.
Step 3: Installation of Fascia Board
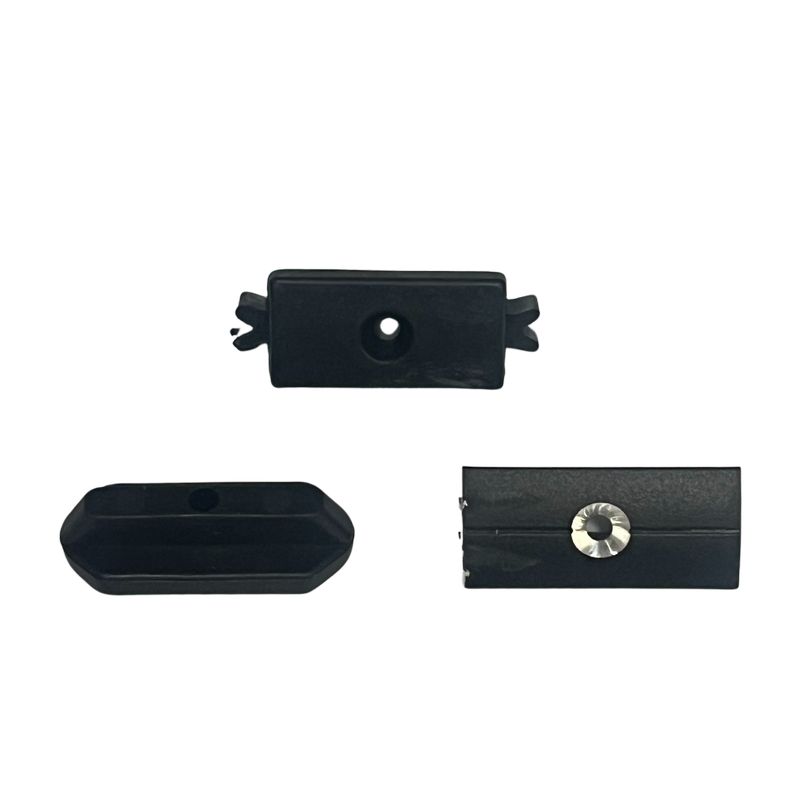
Facia board or corner trim must be pre-drilled before being screwed, and fascia board is mostly recommended. Facia board should leave min 2mm gap between composite decking. The screws should drill into joist not decking board with facia board. Water proof silicone can be used in the end cap in case of peeling off, and then push into the decking board.
Share this event:
Posted by
BetterTech
How we can help you?
You can contact our head-office directly, also you can contact our agent which is near you. Of course, free live-chat is available and you can get help immediately.
